I am writing about my first CLI - Command Line Interface - project in Ruby.
To build the application, we need to create a gem, environment/executable/class files from scratch. We need to know how each file collaborates well in order to make CLI work beautifully.
I was so excited but at the same time, I felt a bit scared if I can make it work. But it turned out it was so much fun to build the program and actually it was even addictive.
Whole Foods Market Recipe Collection
I used a website from the Whole Foods Market Recipe Collection. They have a bunch of recipes on their website.
Whole Foods website that I used for this project.
http://www.wholefoodsmarket.com/recipe-collections
Process making a CLI
Let’s go through how to start a CLI project.
To get started, we need to install a bundler in our computer.
Bundler can install gems and tracks its version. It is not only managing Ruby gems dependencies but also we can create our own Bundler.
To check if you have a bundle, run the following code in the terminal.
bundle -v
If it is already installed, let's create own bundle gem.
bundle gem wholefoods_recipe
I named it as wholefoods_recipe based on my project but we can assign any name.
Now bin and lib directory, gemfile, gitignore, README.md, and other files were already created. This is pretty cool!!
.gemspec file
We have to updatespec.summery,spec.description and spec.homepage. I also added gem 'pry' and gem 'nokogiri' at this point. Run bundle in the terminal if everything works okay.
Class and CLI files
I also liked to create some files at the beginning. I definitely needed files for:- cli.rb - CLI controller, interact with users
- scraper.rb - scrape data from website
- category.rb - class file, assign attribute
These are minimum files I created at first but I created more class files to define methods from different pages later.
Executable file
bin - This is executable directory.
Inside this bin directory. Let's create a new file which is going to be my main executable file.
bin/wholefoods_recipe
In this executable file, I have to write the following code on top of the page because the file does not have an extension. I want to set my environment to ruby. It is called "shebang"
#!/usr/bin/env ruby
Underneath of this code, I wrote lib directory path, that is my environment file.
require_relative "../lib/wholefoods_recipe"
Note: lib is not located in the same directory so we need to use two dots ../lib . If it is in the same directory, we can use just one dot.
Environment file
lib/wholefoods_recipe
This is my environment file and I wrote all the file paths in this file :
i.e
require_relative "./wholefoods_recipe/cli"
require_relative "./wholefoods_recipe/category"
require_relative "./wholefoods_recipe/scraper"
My Class files
I ended up creating cli, scraper and other three class files - total 5 files.✱ scraper.rb
I scraped data such as text and URL from the web pages using Nokogiri. Nokogiri is an open source library to parse XML/HTML in Ruby. It was very fun when I finally obtain the data from the website.✱ category.rb
This is a class file. Title and URL are scraped from the first page of the website. The data is passed through argument.✱ recipes.rb
This is also a class file. Recipe name and URL were scraped from the second page of the website.✱ recipe.rb
This class file is for an individual recipe. I scraped name, description, and ingredients from the third page of the website.So there are three levels - category - recipes(recipe collection) - recipe(individual recipe).
These three files - category.rb, recipes.rb, recipe.rb - have almost the same formats but each property is different because the arguments were scraped from the different website pages. The object is instantiated in scraper.rb.
✱ cli.rb
This is the file to interact with users and to work all together.CLI is not just one way to give information to users but also provide another information based on what we received from users or what users want to know.
Final look
Let's look at my final interface together!Run
./bin/wholefoods_recipe
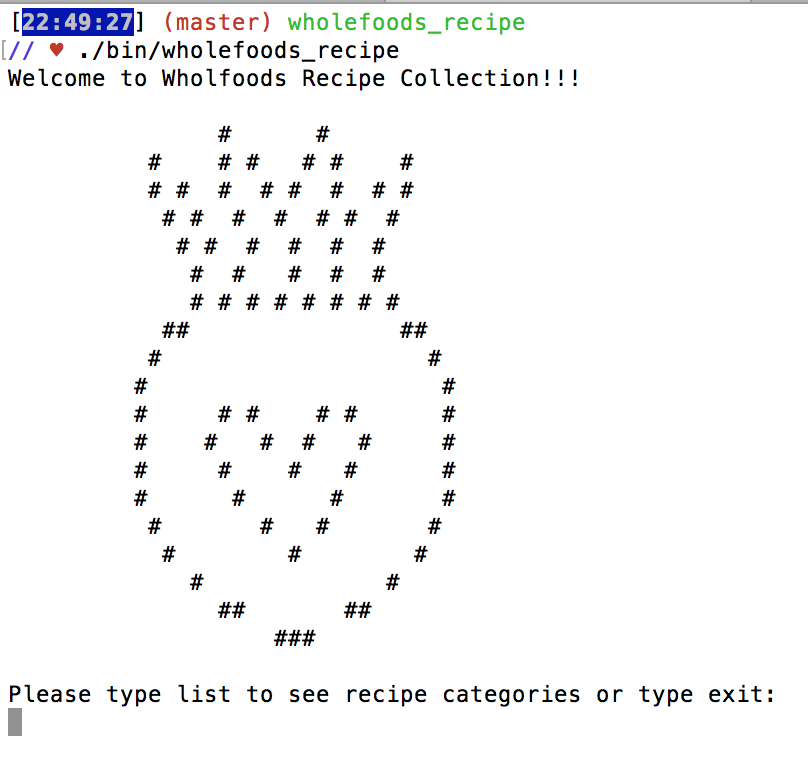
Let's type "list" to see recipe categories.
List is like this:
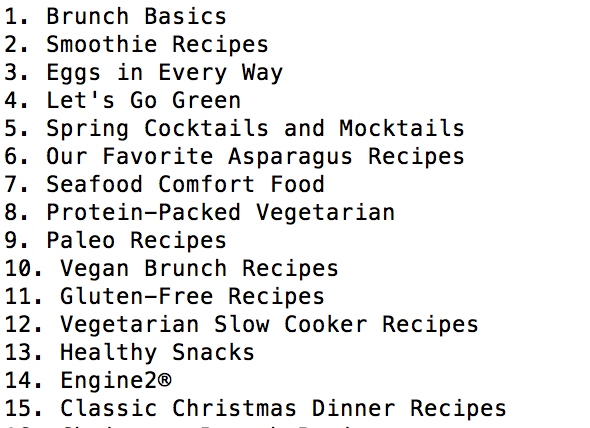
There are 119 categories!

Type the number you like!
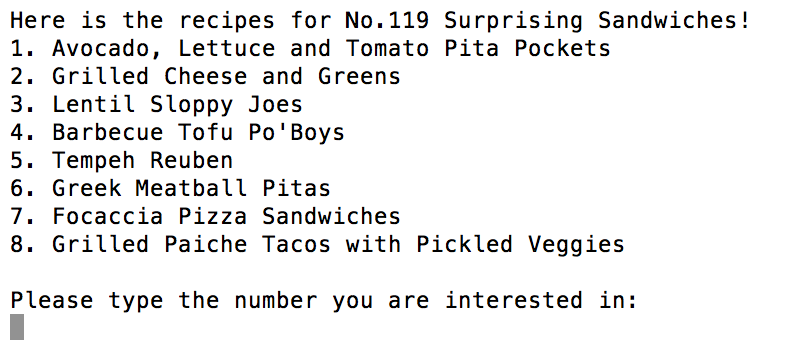
I type 119 this time and we can see the recipe list of "119. Surprising Sandwiches" below.
Pick the recipe you are curious about and type the number.
Tada! We can see recipe name, description and ingredients. Isn't it cool!?

If you want to see another recipe, you can type "y" and go back to the previous list.
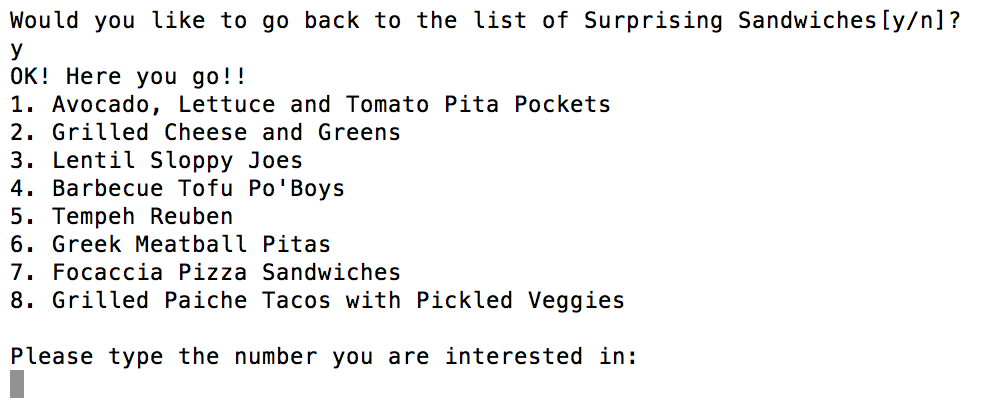
If not, it exits.

Conclusion
At the beginning of this project, each file didn't collaborate well but my mentor gave me a hint that "we can pass the object (user's input) to argument and scrape another data using that object. That object was URL for the second page. Oh wow! Now I can scrape what the user exactly wants because we pass user's input to the argument. Beautiful.
I also found that some web pages do not have the exact same HTML every page. Each page looks exactly the same but some pages have different HTML tag or class name, which brake the code if I did not scrape correctly. It was interesting but challenging.
I learned a lot through this project but at the same time, I really enjoyed it! Learning is fun. Coding makes me awake and even lift my mood up ☺